
Install Pimmich
🚀 Simple Installation (flashable image)
You can download a pre-configured Pimmich image, ready to flash on a microSD card.
- Download the image: Pimmich New Year 2026
- Use Raspberry Pi Imager or Balena Etcher to flash the SD card.
- Insert the card into your Raspberry Pi.
- Plug in the photo frame: Pimmich starts automatically.
- Default credentials:
- SSH: user
pi/ passwordpimmich - Web Interface: user
admin/ passwordpimmich
- SSH: user
- Connect via SSH to expand the filesystem using the command
sudo raspi-config.
🧠 Manual Installation from GitHub
- Flash an SD card with Raspberry Pi OS (Trixie 64-bit version recommended).
- Download the repository from GitHub: github.com/gotenash/pimmich
- Copy the files to your Raspberry Pi (recommended model: Pi 4 or newer, starting from Pi 3).
- Run the
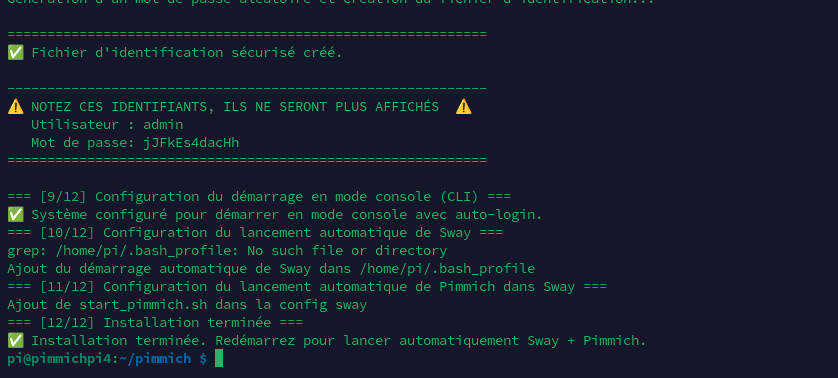
setup.shscript to install dependencies and create the virtual environment. - Important: Make sure to note down the admin password displayed at the end of the installation.
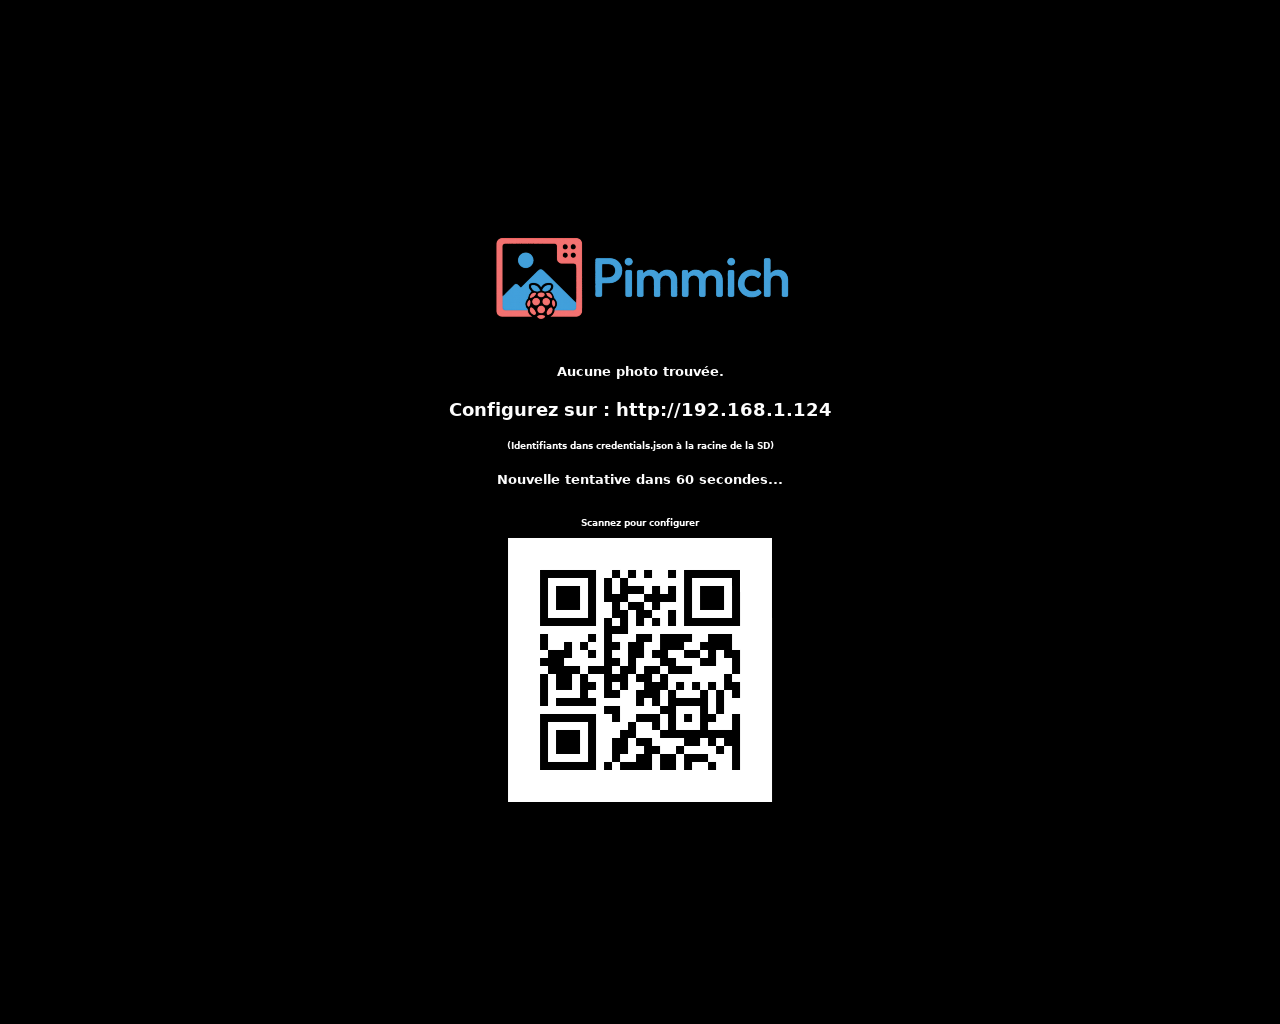
- Access the interface from another device using the address displayed on the screen or by scanning the QR Code.
git clone https://github.com/gotenash/pimmich.git
cd pimmichchmod +x setup.sh
sudo ./setup.sh